Author: Melanie

  • How to Add New Birds to Existing Flock Without Drama

    How to Add New Birds to Existing Flock Without Drama

    1. Quarantine = Chick Hotel. 
      Give newcomers their own space for a few weeks—think “VIP lounge” before meeting the crowd. 
    2. See but don’t touch.  
      Let them eyeball each other through a fence. It’s chicken speed‑dating, no pecking allowed.
    3. Supervised playdates.
      Short hangouts in neutral territory. You’re basically the referee at a feathered soccer match. 
    4. Sneak them in at night.
      Pop the newbies into the coop after dark. Chickens wake up like, “Oh hey, guess you live here now.”
    5. Expect squabbles.
      Pecking order is real. A little drama is fine—just step in if it turns into WWE.  
  • New Chick Care Guide

    New Chick Care Guide

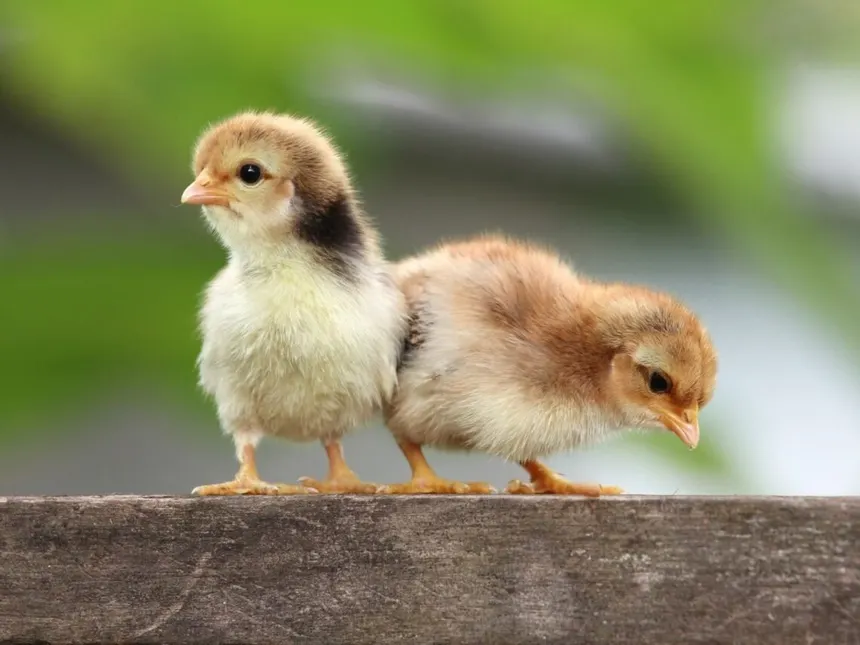
    Congratulations on your new flock of fluffballs! Raising chicks is equal parts joy and responsibility. Here’s how to keep them thriving while enjoying the show.  

    The Basics

    • Warmth is life: Keep the brooder at 95° the first week, lowering 5° each week. Huddled = cold, sprawled = hot, evenly spread = perfect.  
    • Food & water: Provide chick starter feed and fresh water. They’ll act like it’s a five‑star buffet, then immediately spill it everywhere.  
    • Handling: Pick them up gently and often. The more you handle them, the friendlier they’ll be.  
    • Cleanliness: Fresh bedding keeps them healthy. Think of yourself as janitor of their chick rave.
    •   Safety: Predator‑proof their space. Even the family cat thinks chicks look like popcorn chicken. 
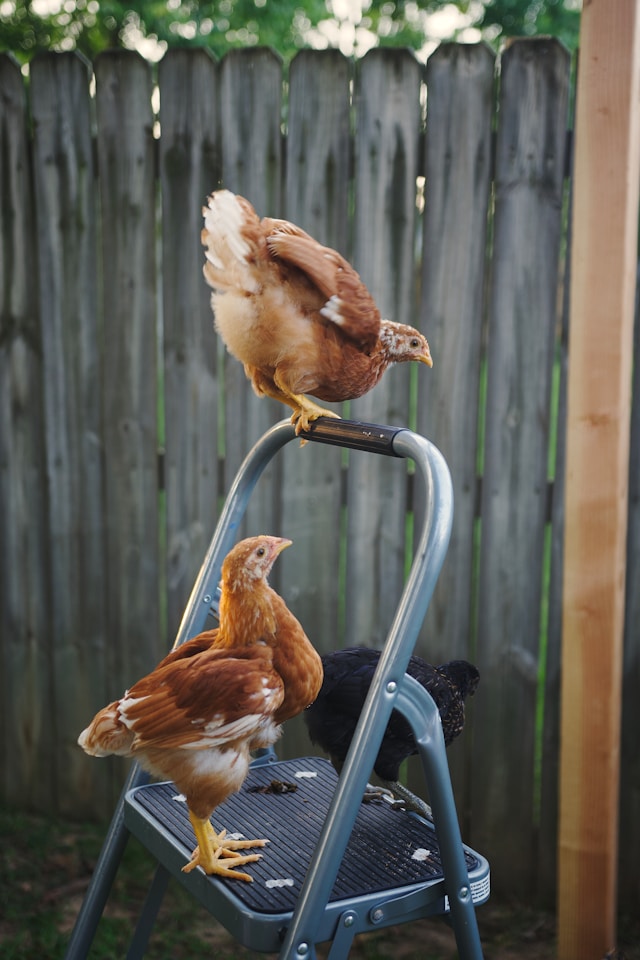
    •  Graduation day: Around 6 weeks, once feathered, they can move to the big‑kid coop.  

    Top 5 Chick Mistakes

    1. Turning the brooder into a sauna (or a freezer).  
    2. Letting the waterer become a swimming pool.  
    3. Trusting the family cat or dog.  
    4. Skipping daily handling (hello, awkward teenagers).  
    5. Moving Them Out Too Soon

    It’s tempting to fast‑forward to the “big kid coop” stage, especially when the brooder starts looking (and smelling) like a frat house. But chicks need time to feather out and build resilience. The mess is part of the process—think of it as their awkward middle‑school phase. Be patient, let them grow at their own pace, and resist the urge to rush perfection. A little extra cleanup now means healthier, hardier birds later.    

    —-

  • How to Collect Samples

    How to Collect Samples

    You collect the blood samples yourself, ideally on a coffee‑filter triangle. Each sample must be fully dry, placed in its own baggie, and clearly labeled with your identifier for that bird. For feather samples, see Option B down below.

    ~ If you’re along my route, I can also pick up samples and payments in person. Watch FB for my travel info.

    Payment

    • Payment must be made before you mail samples. Once Payment is made, I create a ticket for you and watch   for your shipment. Mail is collected Monday, Wednesday, and Friday.
    • Mailing Address
      Juniper Pines Poultry Lab
      306 E Main St, PMB 627
      Canon City, CO 81212
    • Upon arrival, I begin testing. Results are communicated within 24 – 48 hours.
    • Toenail clippers
    • Alcohol wipes or rubbing alcohol + cotton
    • Disposable gloves
    • Styptic powder or cornstarch
    • Coffee filters (best option) or an index card (harder to dry)
    • Your chosen chick identifier (leg band, rubber band, bracelet piece, or even “brown chick”)
    • One baggie per sample

      Tips:
    • Coffee filters work best. Cut them like a pizza into triangles—hold the wide end and collect the blood on the pointy end.
    • It’s easier to write the ID on the filter before collecting the blood.
    • Any ID system is fine as long as you know which chick is which and the sample is clearly marked.
    1. Clean your clippers
      Wipe the cutting edge with an alcohol wipe. (Don’t dunk—dunking doesn’t remove debris.)
    2. Pick up the chick and apply its ID
      Band the leg or note whatever identifier you’re using so it matches the sample.
    3. Prep the nail
      Wipe one toenail with alcohol and let it dry for a few seconds.
    4. Clip & collect
      Clip the nail short, just enough for a small drop of blood to form.
      Set the clippers down, pick up your coffee‑filter triangle, and touch the tip to the drop.
      You only need a spot about the size of a grain of rice—anywhere on the paper, as long as it’s not smeared or touched. I don’t need much, but in case of PCR malfunction, it’s best to have more blood available to sample.

      Trick: Bend the tip of the filter upward so it stands up while drying.
    5. Stop the bleeding
      Dab the chick’s nail in cornstarch or styptic powder.
      Give the chick a little kiss and return it to the brooder.
    6. Clean up & repeat
      Wipe your clippers again, make sure the sample is labeled, and move on to the next chick.
    7. Dry & package
      Once all samples are completely dry, place each one in its own ziplock baggie.
      Put all baggies into a mailing envelope along with a sheet of paper containing your contact information.

      Option B for older birds or other species that you don’t feel comfortable clipping toenails (Parrot, Emu, Pigeon, etc.):
      Pluck 3-5 feathers from the breast or wing. Ensure the quill bulb (the tiny clear/white bump at the end) is attached. Place feathers in a small envelope and write your Bird ID on the outside. Put all baggies into a mailing envelope along with a sheet of paper containing your contact information